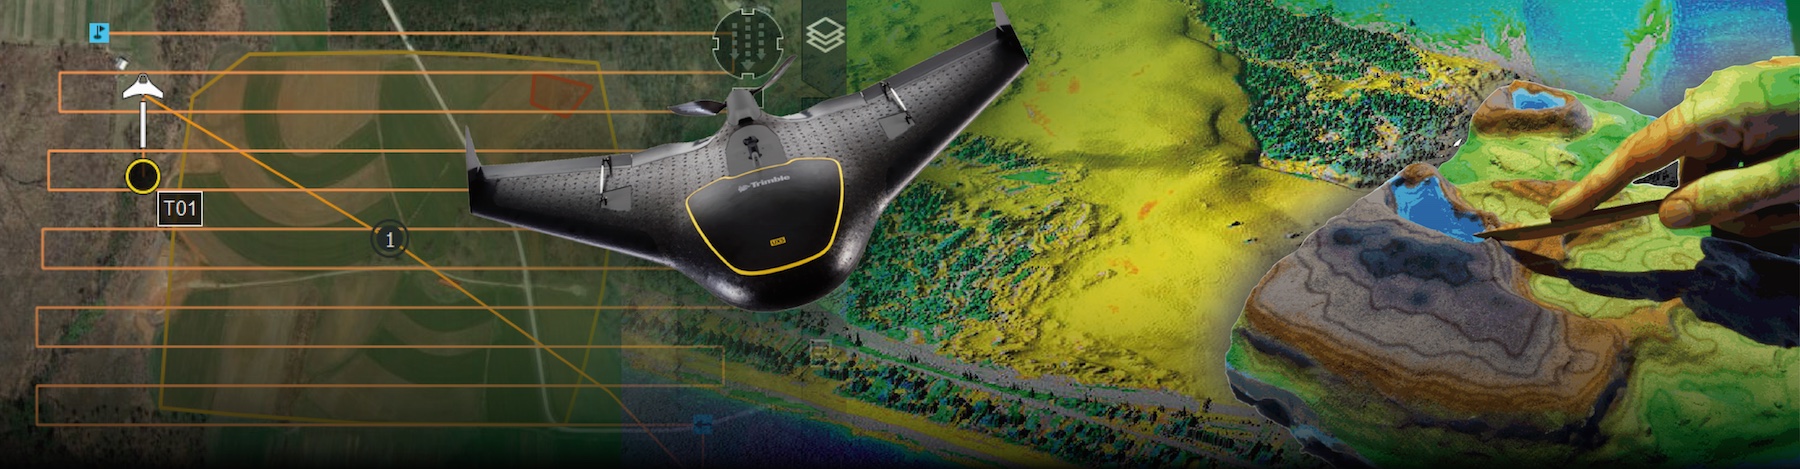
Assignment 4A - Analysis
Analysis of UAS data processing results
GIS based analysis of UAS derived data processing outputs
In this assignment, we analyze the DSMs derived from the UAS imagery in terms of their accuracy and type of distortions based on the use of GCPs and different processing software. Then we map the terrain change (due to vegetation growth, erosion, and other impacts using two different UAS surveys).
Including GCPs in geoprocessing improves the results. Does it have an effect on the phenomenon that you are investigating?
Agisoft is only one example of the software solutions available for the UAS data processing. In the GRASS location, DSMs are available, generated in different environments: Agisoft, Pix4D, and Trimble Business Center (for one example flight). Compare the differences between these DSMs.
In Imagery processing assignment, you’ve used arbitrary given parameter values in each processing step. You can change various modes, quality, values, and options to investigate if it improves the results.
Data
- Lake Wheeler data set (formatted as GRASS location): Lake_Wheeler_NCspm (you should already have it from previous assignments)
DSMs comparison - influence of GCPs
In order to detect the bowl effect, an additional DSM needs to be computed. This time GCPs should not be used in the processing. You can repeat all the steps in Agisoft from the Imagery processing assignment.
Batch processing commands should be in this order:
- Align Photos
- Optimize Alignment (this is only based on camera coordinates)
- Build Dense Point cloud (quality: medium)
- Generate DEM
Now you should have two DSMs:
Packs are provided for those working in DEMO mode; save them in your working directory.
Calculate differences between processed sample data
We will use GRASS GIS to compare the DSMs.
Open GRASS with the “Lake_Wheeler_NCspm” location and create a new mapset for this assignment (you can call it “analysis”). Then change your working directory (Settings > GRASS working environment > Change working directory) to where your DSM files are.
r.unpack DSMagi_2016_09_22_sample_noGCPs.pack -o
r.unpack DSMagi_2016_09_22_sample.pack -o
Calculate the differences in elevation in the DSM generated with GCPs and the new one without GCPs in GRASS GIS using raster map algebra:
g.region rast=DSMagi_2016_09_22_sample
r.mapcalc expression="GCP_noGCP_class = DSMagi_2016_09_22_sample - DSMagi_2016_09_22_sample_noGCPs"
Change the color map to better see the differences. You can experiment with your own color table or enter the following values directly in the r.colors dialog (second tab: Define):
0 red
35 orange
36 yellow
37 cyan
38 aqua
39 blue
Calculate differences between DSMs from larger area
Your sample data has very limited extent. To fully understand the phenomenon caused by the absence of GCPs, compare the sample DSMs from the Lake_Wheeler_NCspm_course location. There were 4 GCPs used for generating sample_DSM. You can see localization by adding the GCP_12 vector layer to the display.
g.region rast=sample_DSM
r.mapcalc expression="GCP_noGCP = sample_DSM - sample_DSM_noGCPs"
Change the color map to better see the differences. You can experiment with your own color table or enter the following values directly in the r.colors dialog (second tab: Define):
0 red
35 orange
36 yellow
37 cyan
38 aqua
39 blue
Why are these patterns different? Consider the distribution of the GCPs in both datasets and the shape of the area.
Compare DSMs generated in different software
For the flight from 2015-06-20, in the Lake_Wheeler_NCspm_course, there are DSMs with GCPs generated in 3 different software environments (Trimble Business Center, Agisoft, and Pix4D). Additionally, there are DSMs generated without GCPs in Agisoft and Pix4D.
Check the bowl effect for the Agisoft generated products:
g.region rast=2015_06_20_DSM_agi_11GCP
r.mapcalc expression="agi_GCP_agi_noGCP = 2015_06_20_DSM_agi_11GCP - 2015_06_20_DSM_agi_noGCP"
Change the color table to better see the differences.
0 red
35 orange
36 yellow
37 cyan
38 aqua
42 blue
Check the bowl effect for the Pix4D generated products:
r.mapcalc expression="p4d_GCP_p4d_noGCP = 2015_06_20_pix4d_11GCP_dsm - 2015_06_20_DSM_pix4d_NoGCP"Change the color map to better see the differences. You can experiment with your own color table or enter following values directly in the dialog r.colors dialog second tab Define
50 red
69 orange
70 yellow
71 cyan
72 aqua
75 blueWhich software generated a larger bowl effect?
r.mapcalc expression="agi_trimble = 2015_06_20_DSM_agi_11GCP - 2015_06_20_DSM_Trimble_11GCP"
r.mapcalc expression="p4d_agi = 2015_06_20_pix4d_11GCP_dsm - 2015_06_20_DSM_agi_11GCP"
r.mapcalc expression="p4d_trimble = 2015_06_20_pix4d_11GCP_dsm - 2015_06_20_DSM_Trimble_11GCP"
Apply the color table that varies from -1m to 1m to visualize results of the comparison using the r.colors
-40 red
-1 orange
-0.5 yellow
-0.1 grey
0 white
0.1 grey
0.5 cyan
1 aqua
35 blueCompare the maps. How do they relate to each other? What patterns (artifacts) can you recognize?
Detect terrain change using two UAS surveys
It is also useful to a perform terrain analysis using GIS tools to see the differences even more clearly.
Run the r.slope.aspect and r.relief command for chosen DSMs, for example:
g.region rast=sample_DSM
r.slope.aspect elevation=sample_DSM slope=sample_DSM_slope aspect=sample_DSM_aspect pcurvature=sample_DSM_curv
r.relief input=sample_DSM output=sample_DSM_relief
r.slope.aspect elevation=sample_DSM_noGCPs slope=sample_DSM_noGCP_slope aspect=sample_DSM_noGCP_aspect pcurvature=sample_DSM_noGCP_curv
r.relief input=sample_DSM output=sample_DSM_noGCP_relief
You can also install GRASS GIS Addons (via g.extension):
and apply this modules to sample data or your data.
Set your computational region
g.region rast=sample_DSMInstall and run the r.local.relief addon.
g.extension extension=r.local.relief
r.local.relief input=sample_DSM output=local_relief_sample_DSM
r.local.relief input=sample_DSM_noGCPs output=local_relief_sample_DSM_noGCPs
Install and run r.shaded.pca
g.extension extension=r.shaded.pca operation=add
r.shaded.pca input=sample_DSM output=shaded_pca_sample_DSM
r.shaded.pca input=sample_DSM_noGCPs output=shaded_pca_sample_DSM_noGCPs
Install and run r.skyview
g.extension extension=r.skyview operation=add
r.skyview input=sample_DSM output=skyview_sample_DSM
r.skyview input=sample_DSM_noGCPs output=skyview_sample_DSM_noGCPs
Detect terrain change using two UAS surveys
g.region rast=2015_06_20_DSM_agi_11GCP
r.mapcalc "diff_jun_oct_agis = 2015_06_20_DSM_agi_11GCP - 2015_10_06_DSM_agi_8GCPs"
Apply the color table that varies from -1m to 1m to visualize results of the comparison using r.colors module.
In the Define tab, type the following rules in the enter values directly option.
 -40 red
 -1 orange
 -0.5 yellow
 -0.1 grey
 0 white
 0.1 grey
 0.5 cyan
 1 aqua
 35 blue
Note the accuracy of the DSM along the roads, interpret the observed gain and loss in elevation.
Use orthophotos from: