OpenDroneMap
WebODM
Lab Objectives
- Install and run WebODM
- Process a UAS image set
- Generate an orthomosaic, DSM, and point cloud
- Import into GRASS
Install WebODM
Manual install
For full install direction view the WebODM Manual installation (Docker) Documentation.
Prerequisites
To run WebODM you must first install
- Git - distributed version control system
- Docker Desktop - collaborative containerization software for developers
Windows Users
You must be running at least Windows 10.
To run WebODM you need to make sure that virtualization is enabled. Virtualization allows you to run virtual machines (VMs) on your computer. You can check if virtualization is enable in the Task Manager, under the Performance tab.
Download WebODM
Two options are avaliable to download WebODM.
Option 1. Download WebODM via the GitHub GUI at OpenDroneMap/WebODM
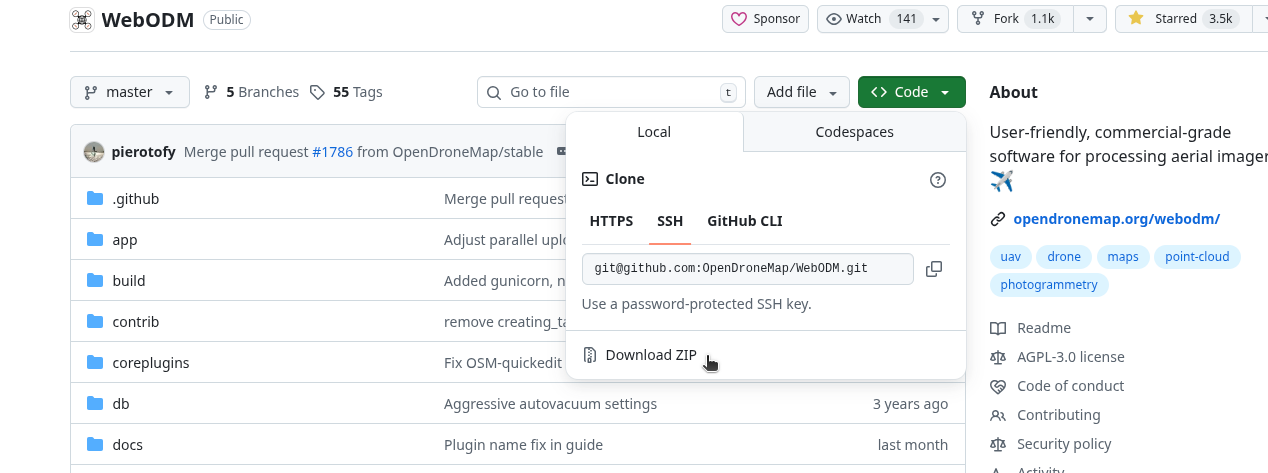
Option 2.
Download WebODM using git.
git clone https://github.com/OpenDroneMap/WebODM --config core.autocrlf=inputTo launch WebODM first open your terminal and navigate to where you installed WebODM. Then run the script ./webodm.sh start in the terminal.
cd WebODM
./webodm.sh start
If successful you should be able to access WebODM in browser at http://localhost:8000.
Purchase the WebODM Installer
This is a good option if you do not feel comfortable with GitHub and Docker. It is a one-time purchase of under $100.00 and all proceeds support the projcet .
You can purchase the installer at here.
Login to WebODM
Add Project
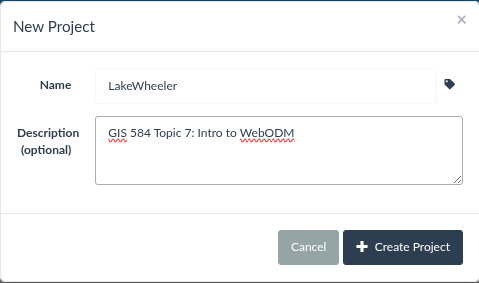
Click the Add Project button on the top right corner of your screen. It will open a modal to add a New Project.
Enter a Project Name and Description then click the “Create Project” button.
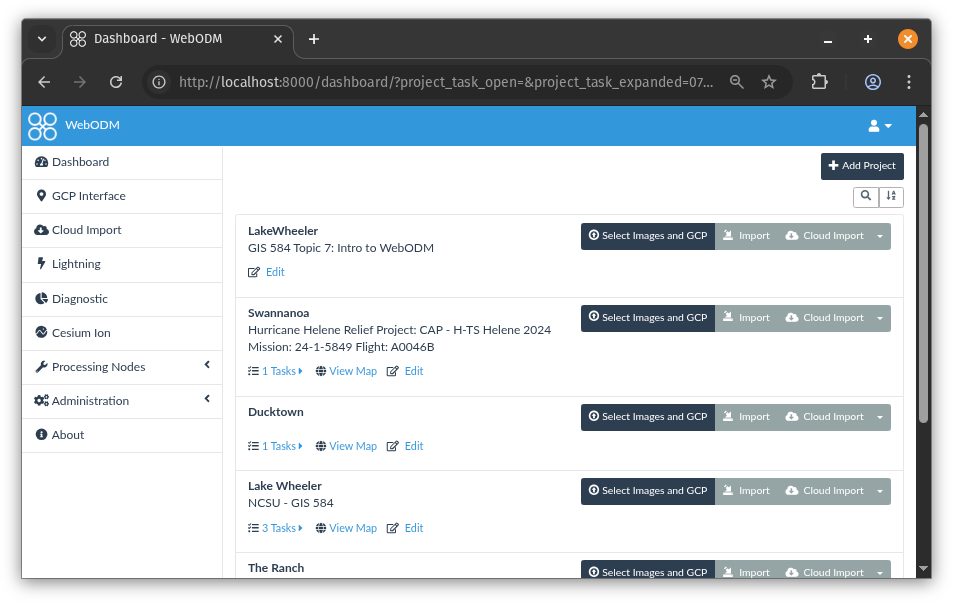
The new project will be added to the top of the WebODM dashboard.
Load Images
Use the subseted imagery from our flight on Sept 17, 2025.
- Data: Flight Images - photos.
Once you have the data downloaded import click the Select Images and GCP button located to the right of the newly created project. Import the images.
One that is done you should see your project open with 213 files selected and ready for you to create a processing task.
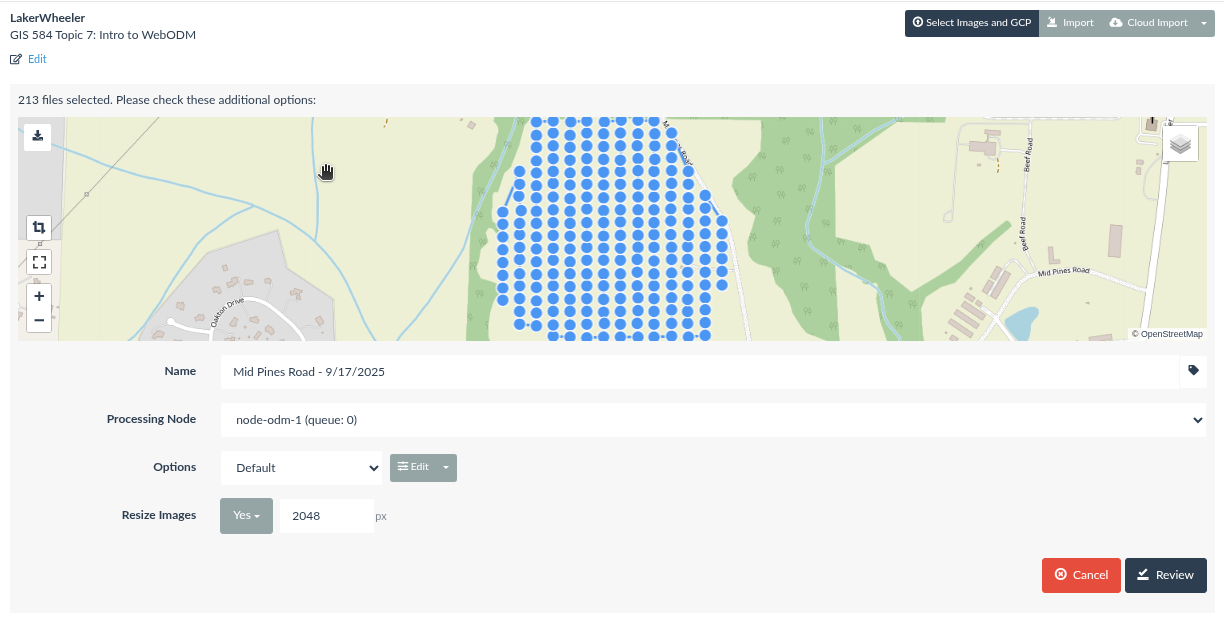
Process Task
WebODM processes UAS data as processing tasks. Each task is assigned a name, processing node, options, and a setting to resize images.
A defualt processing node (node-odm-1) is created by default when starting WebODM, but other processing nodes can be added (e.g., MicMac, cloud-based). There are multiple default options provided by WebODM.
Default Options
- Default
- High Resolution
- Fast Orthophoto
- Field
- DSM+DTM
- Forest
- Point of Interest
- Buildings Ultra Quality
- Buildings
- 3D Model
- Volume Analysis
- Multispectral
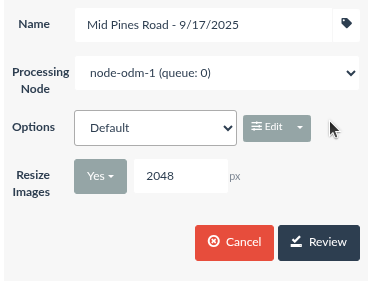
Or you may choose to use custom parameters by selecting the Edit button.

Today we will use the default preset for our analysis, but we will edit the options to include DSM and DTM generation.
To do this select the default option then click the edit button.
To speed up processing you can disable 3D mesh generation in the Task Options.
Leave the resize images set to the defaults.
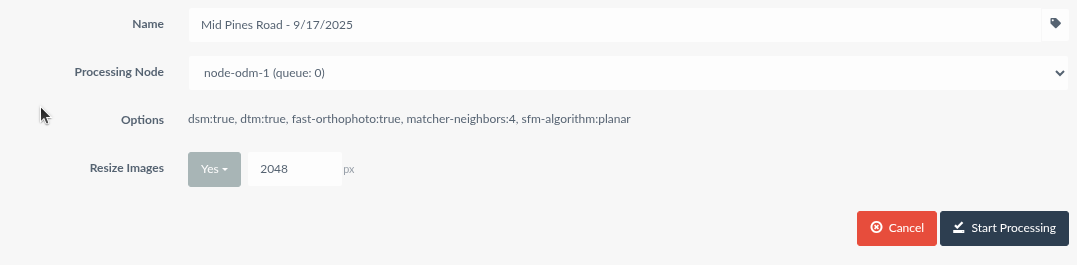
Now click the Review button.
The options should be set as:
Options - dem-resolution:30, dsm:true, dtm:true, fast-orthophoto:true, matcher-neighbors:4, sfm-algorithm:planar
Processing time will vary depending on your computers hardware and Docker settings.
Finally, press the Start Processing button.
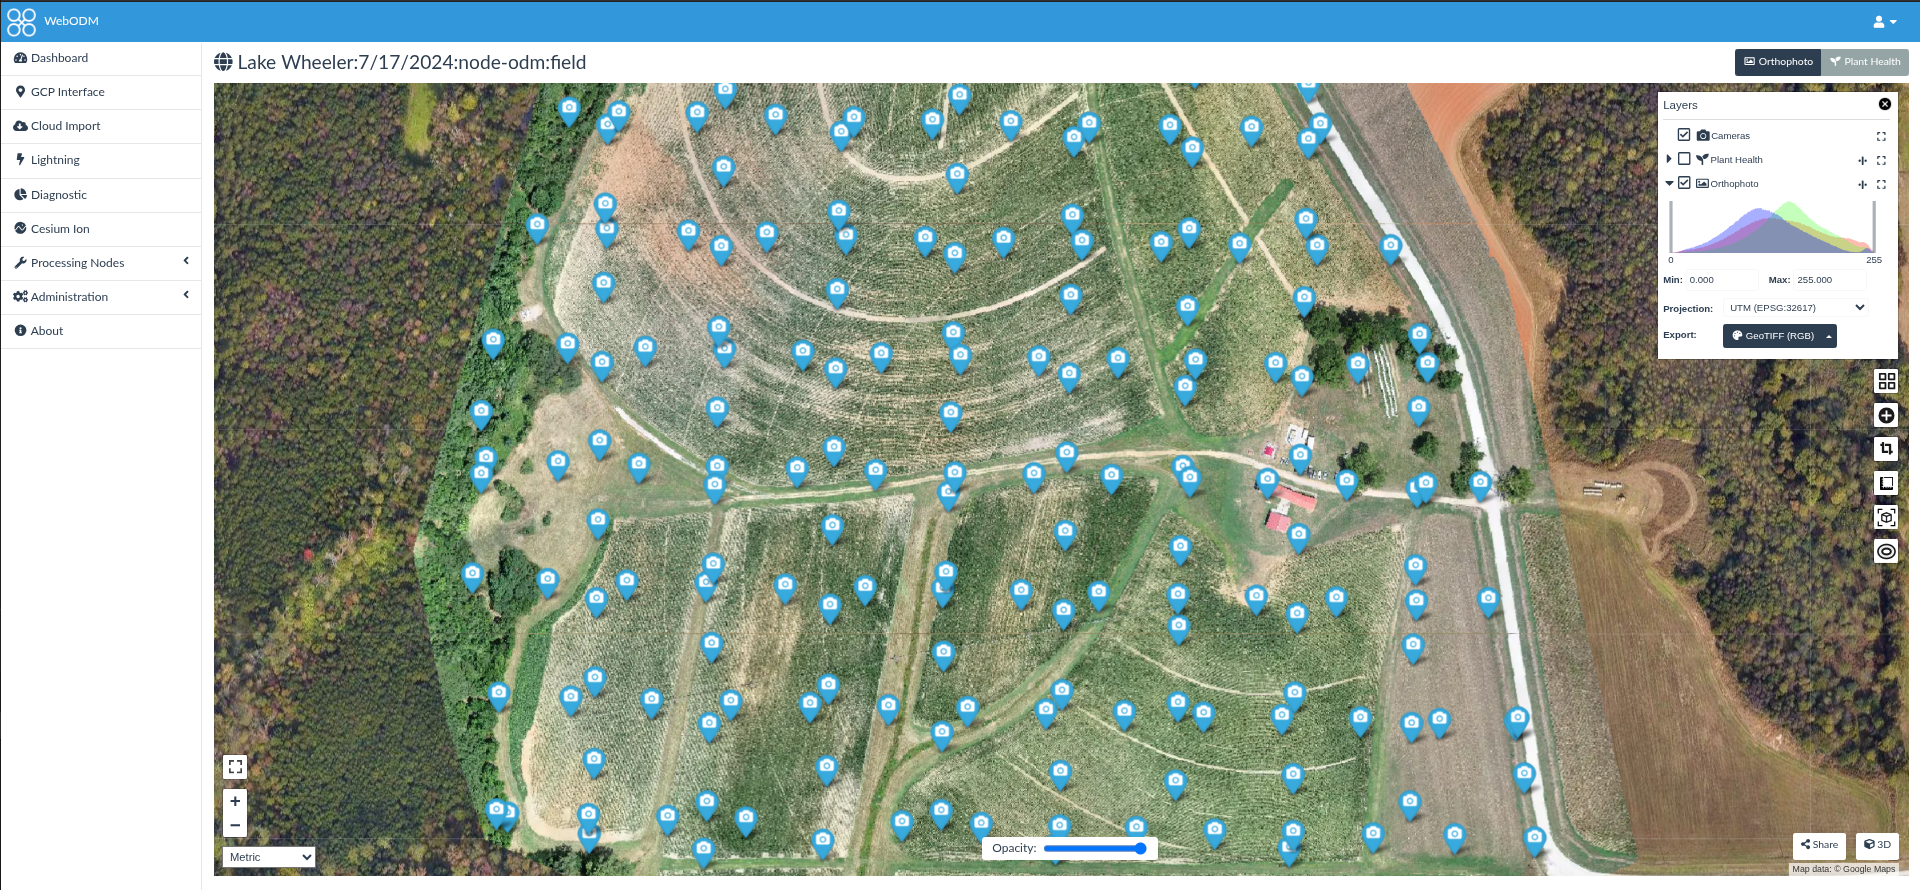
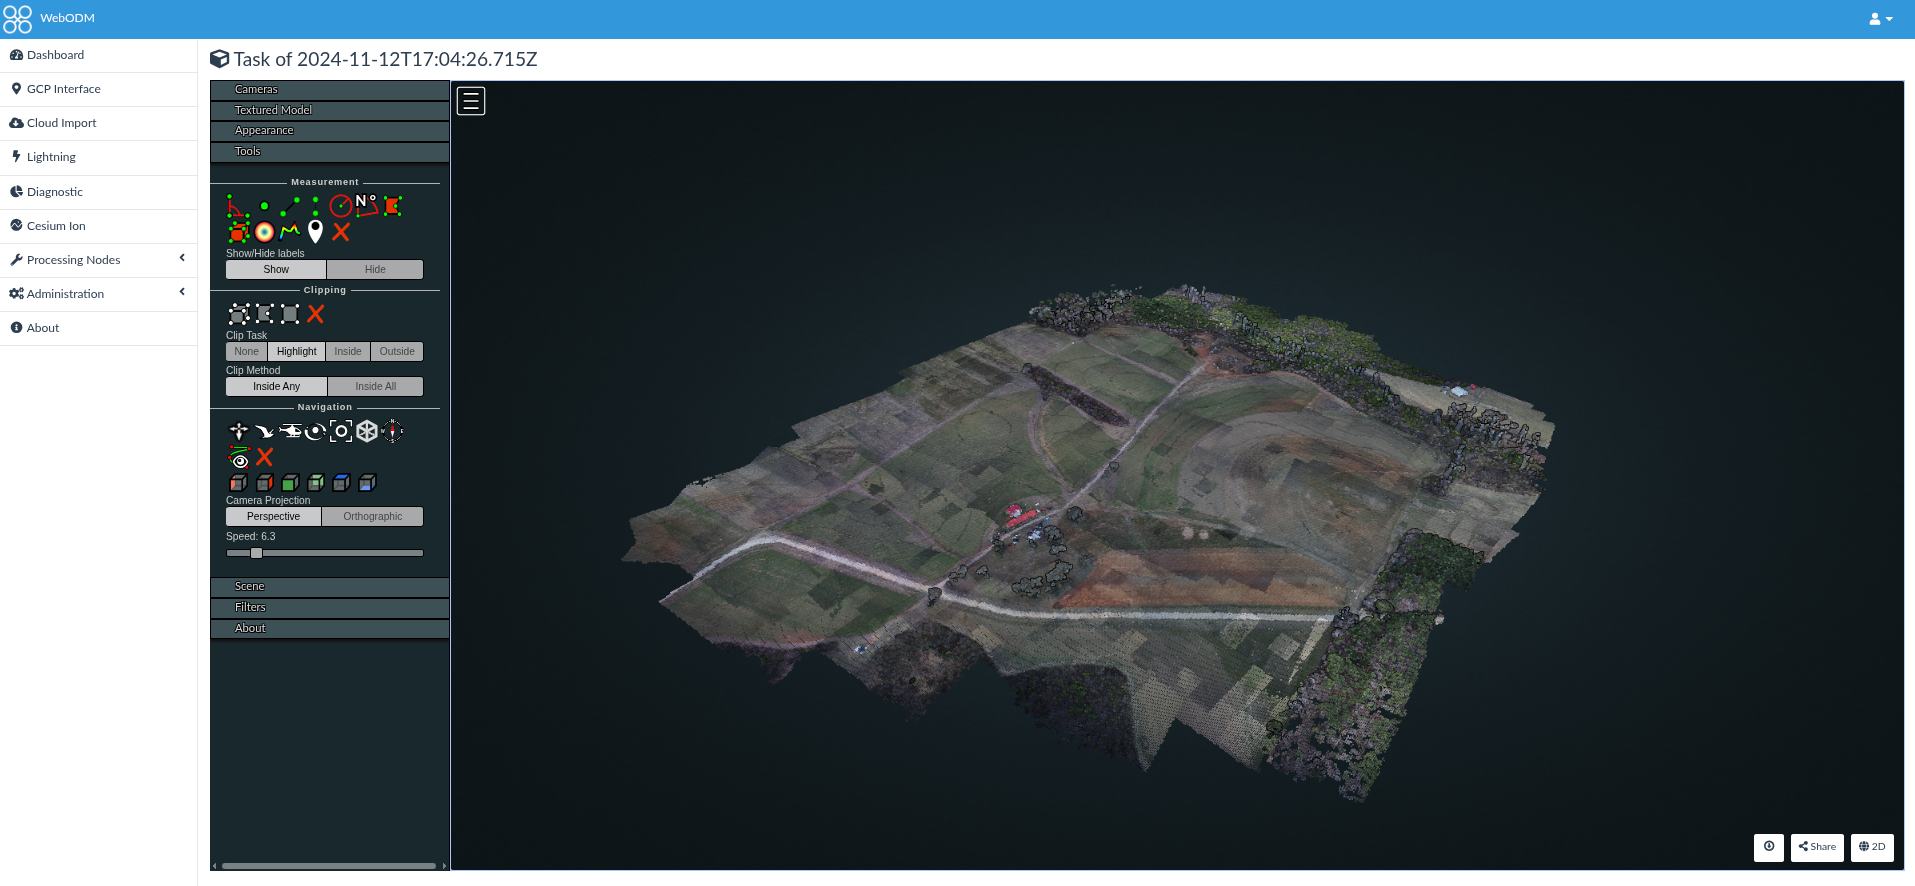
View Results
To view the processed results you can click View Map.
2D Map View
3D Model View
Export Data
To export your results out of WebODM. Navigate to the project task from the WebODM Dashboard and select the task. Click the Download Assets button to open the dropdown.
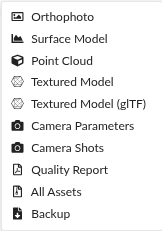
You can download All assets as a zip file or select individual assets. To load your project into another instance of WebODM download a Backup. Download the Quality Report to evaluate your final products. If you see issues try to fine tune the parameters.
If you rerun a task you have the choice of where in the processing pipeline to start. This can significatly decrease the compute time.