Assignment 3A
Terrain Analysis of the flight site using GIS tools

Task
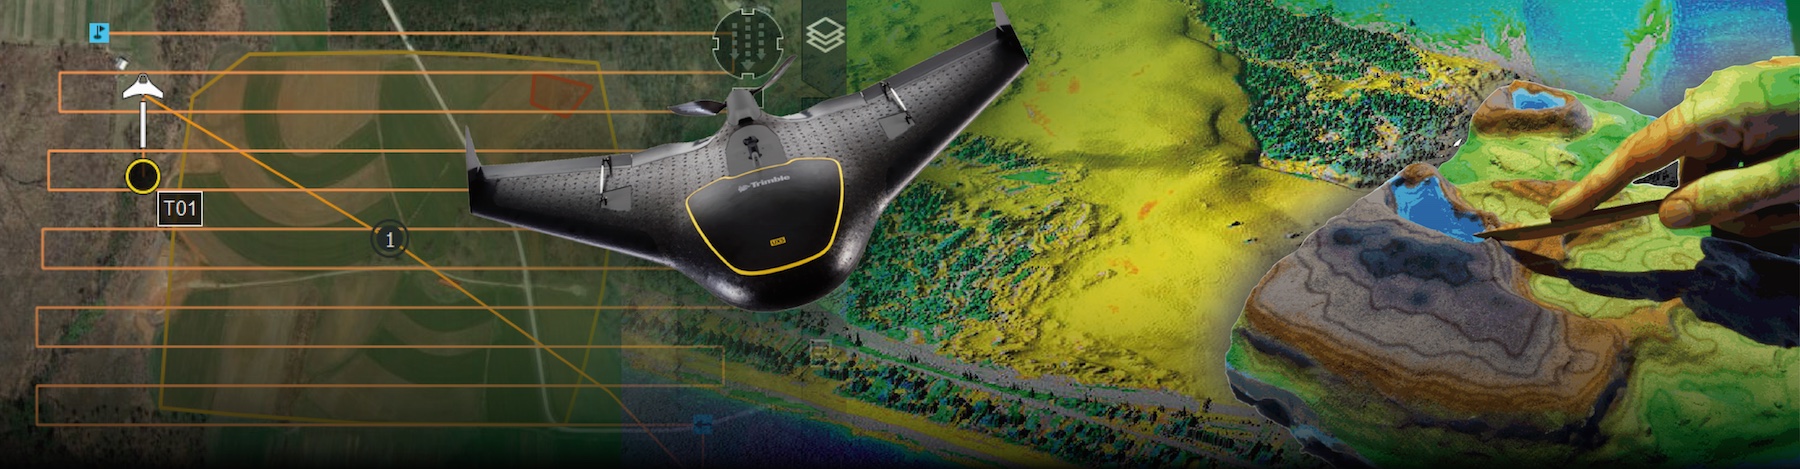
To execute a safe flight, you need to make sure that the flight path will not cross any obstacles. Remember that the flight altitude is set relative to the takeoff location and does not take local relief into account, which can be crucial in mountainous areas. In our case trees, buildings, and other structures are the main concern. Because both the terrain data (from lidar) and the planned flight path are available, the clearance between the flight path and the surface can be computed with GIS tools. You do not need to plan your own flight for this assignment; analyze the two provided flight paths.
Work through the steps below in the GRASS GUI or command line, or open the notebook in Colab (badge above), which runs the same steps in Python and produces the maps and statistics for you. Either way, the report is the same.
If you are unfamiliar with GRASS, work through the Get started tutorials and watch at least the Getting started with GRASS GUI video from the OSGeoLab YouTube channel.
Workflow
- Compute a raster of the flight path elevation
- Generate a DSM from the lidar point cloud
- Check the vertical reference of the flight path and compute the clearance
Data
- GRASS project Lake_Wheeler_NCspm (EPSG:3358, NC State Plane meters; includes the
NGAT_COAboundary and sample DSMs from earlier flights) - Flight paths: flight_path1.kml and flight_path2.kml, planned in two different programs
- Mid Pines 2013 lidar point cloud: las or copc.laz
- Fallback if the lidar import fails: interpolated Mid Pines DEM and DSM (GRASS pack files, restore with
r.unpack) - Orthophotos for context: Nov 2015 and Mar 2017 (pack files)
Software
- GRASS 8.5
Part 1: Flight path elevation raster
Unzip the Lake_Wheeler_NCspm project into your grassdata folder (in Windows, Documents\grassdata), start GRASS in it, and create a new mapset, for example flight_analysis, for this assignment.
Settings > GRASS working environment > Change working directory, then pick the folder holding the downloaded files. The commands below can then refer to the files by name instead of by full path.
Download both flight path KML files into your working directory. Import the first one with v.import, which reprojects it from WGS84 geographic coordinates into the project’s coordinate system on the fly:
v.import input=flight_path1.kml output=flight_track_kmlv.import prints a long note about the transformation pipeline it selected; that is informational. Check that the imported line is 3D and note its altitude range:
v.info -g flight_track_kmltop and bottom are the highest and lowest altitudes in the KML file. Write them down; you will need them in Part 3.
Convert the line into points every 0.3 m along the path. The altitude (z) is interpolated between the vertices:
v.to.points input=flight_track_kml output=flight_track_points dmax=0.3Set the computational region to the flight path at 1 m resolution and rasterize the points with altitude as the cell value:
g.region vect=flight_track_kml res=1
v.to.rast input=flight_track_points output=flight_path_altitude_rast use=z
The aircraft does not fly a line: wind pushes it off track and the airframe has a wingspan. Widen the path to 5 m (radius 2.5 m; the -m flag makes the radius map units rather than cells):
r.grow -m input=flight_path_altitude_rast output=flight_path_wide radius=2.5Part 2: Surface model from lidar
Download the Mid Pines 2013 point cloud into your working directory and bin it into a 3 m raster. Keeping first returns of class 1 (unclassified, mostly vegetation and buildings) and class 2 (ground) and taking the maximum elevation in each cell gives the top of the canopy and roofs: a digital surface model (DSM). The -o flag skips the projection check (the file is already in NC State Plane meters) and -e extends the raster to the extent of the point cloud so the whole field is covered:
r.in.pdal input=mid_pines_spm_2013.las output=mid_pines_surface_max method=max \
  class_filter=1,2 return_filter=first resolution=3 -oe
The lidar was flown in 2013 and trees have grown since; keep that in mind when judging small clearances.
r.in.pdal is not available
Some GRASS builds ship without PDAL support. Download the interpolated DEM and DSM, unzip the file into your working directory, and restore the DSM under the same name the rest of the assignment uses:
r.unpack -o input=mid_pines_lidar2013_dsm.pack output=mid_pines_surface_maxPart 3: Vertical reference and clearance
Before subtracting, check that both datasets measure altitude from the same zero. The lidar DSM is orthometric: height above the geoid (NAVD88), what most people call elevation above sea level. Flight planning software often exports KML altitudes as height above the WGS84 ellipsoid, and in central North Carolina the ellipsoid sits about 33 m below the geoid. Subtracting without checking would put the aircraft 33 m lower than it really flies.
The takeoff point is the one place where you know where the aircraft is: on the ground. Get the coordinates of the start of the line and read both rasters there:
v.to.db -p flight_track_kml option=start
r.what map=flight_path_wide,mid_pines_surface_max coordinates=<easting>,<northing>
If the flight path altitude at takeoff is a few meters above the lidar ground, both use the same reference and the offset is 0. If it is tens of meters below the ground, the KML altitude is ellipsoidal, and the difference is the geoid-ellipsoid separation at the site. Add it to the whole flight path, then compute the clearance:
r.mapcalc "flight_path_ortho = flight_path_wide + <offset>"
r.mapcalc "clearance = flight_path_ortho - mid_pines_surface_max"
Flag every cell where the clearance is below a safety margin. 30 m is a reasonable starting point: it covers a decade of tree growth since the lidar, altitude hold error, and wind pushing the aircraft down. Change it if your flight parameters justify a different value, and say why in the report. Then summarize the results:
r.mapcalc "low_clearance = if(clearance < 30, 1, null())"
r.colors map=clearance color=ryg
r.univar -e clearance
r.report map=low_clearance units=c,h
The takeoff and landing segments will always show low clearance, because the aircraft climbs from and descends to the ground there. Look for low clearance away from the takeoff point. Also convert the corrected flight altitude to height above ground at takeoff and compare it with the Part 107 limit from Lecture 3A.
Repeat Parts 1 and 3 for flight_path2.kml with new map names. The two files were exported from different programs and do not necessarily use the same vertical reference, so run the takeoff check again rather than reusing the offset.
Visualize
Display the clearance map with the low-clearance cells over the DSM or an orthophoto, together with the NGAT_COA boundary. To use an orthophoto, unzip one of the packs from the Data list and restore it with r.unpack. A map of the flight path over the orthophoto or DSM is sufficient; you may also open the KML in Google Earth or a flight planner such as QGroundControl, but this is not required. If you discovered obstacles and readjusted the flight path, include a picture and a description of the issue.
Report
Prepare a report (2 to 4 pages including figures):
- Flight plan: the flight path you analyzed, with a map of the path over the orthophoto or DSM, the flight altitude, the takeoff and landing location, and where the area sits within the COA boundary.
- Clearance: for both flight paths, the clearance map with low-clearance cells shown over the DSM or orthophoto, the minimum and median clearance, the number and location of cells below your safety margin, and what is under them in the DSM.
- Vertical reference: what reference each KML uses, how you found out, the offset you applied, and what the clearance map would have shown had you skipped the check. State the corrected flight altitude above ground at takeoff in feet against the Part 107 limit.
- Discussion: the aim is to show that the flight plan can be flown safely. Describe your thought process: what did you take into account first, what problems did you encounter, and did you change your initial plan because of software limitations, legal limits, or the relief and obstacles of the area?
Submission
Upload to Moodle, Assignment 3A:
- Your report as a PDF.
- Optional: the exported clearance map (GeoTIFF), or your completed notebook (
.ipynb) if you worked in Colab.
Grading
- Workflow: every step and parameter is stated (point spacing, resolution, path width, lidar filters, safety margin), so that someone else could reproduce your maps.
- Clearance: the clearance maps for both flight paths are shown, georeferenced in EPSG:3358, with low-clearance cells identified, quantified, and explained.
- Vertical reference: the check at the takeoff point is done for both files, the offset is justified, and its consequence is explained.
- Discussion: the flight area, altitude, and takeoff and landing choices are tied to the flight planning concepts from Lecture 3A.
- On-time submission.